Follow along as I set up my Plantui smart garden and get the garden I deserve!
Last week, I shared with you an intro to Plantui and a bit more info about their philosophy: Everyone deserves a garden. Today, I'm happy to walk you through the process of setting up your Plantui Smart Garden!
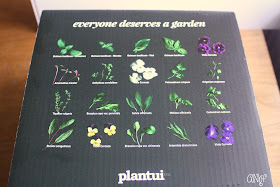
Of course, the first step is in getting all of the bits to your garden out of the box:
Inside the box, you'll find a detailed leaflet with instructions for making the most of their incredible product. (Once you've assembled your garden, be sure to keep hold of this manual as you'll refer back to it often.)
Setting Up a Plantui 6 Smart Garden
Of course, the first step is in getting all of the bits to your garden out of the box:
Inside the box, you'll find a detailed leaflet with instructions for making the most of their incredible product. (Once you've assembled your garden, be sure to keep hold of this manual as you'll refer back to it often.)
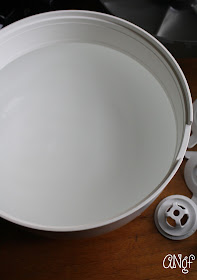
Remove the entire device from the box, along with any component parts. To open the smart garden, twist the top portion of the sphere anticlockwise. Remove each element inside including the white and gray trays and the mini baskets.
Fill the bottom of the smart garden with 3 liters of water.
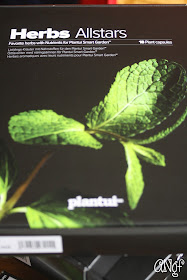
Choose which plants you'd like to grow and open one of the small boxes. To kick things off, I'm using the Herb Allstars selection.
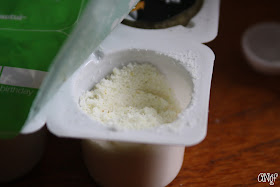
Open one of the boxes containing the plant capsules and carefully peel back the cover over the section labled 1:1. This is the nutrient and plant capsules packet for coriander.
With the little spoon provided, scoop three scoops of nutrients directly into the water. Even if you plant six plants you will only needs to add three scoops of nutrients from one of the plants. Also, it's worth noting that all any of the plants can use any of the nutrients.
The water will have blue flecks in it once you'd add the nutrients. Next, it is time to start reassembling the device.
The gray tray goes in next, followed the white tray with the holes in for the plant capsule holders. You'll need to fit the stick on the white tray into the slot for it on the gray tray, as shown.
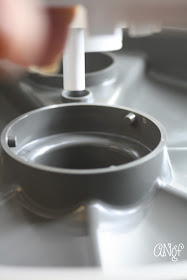
Put the water pump into the centre of the tray and twist to fit into place. You can also turn it to lock it into place.
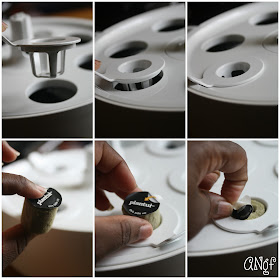
Place each plant capsule holder in one of the six large holes. Note, the seventh, smaller hole is there for adding more water and nutrients later in the process. Next, remove one of the plant capsules for each of the plants you would like to grow. Pop it into the holder, right side up and peel back the paper.
The seeds are already included in the plant capsule, all you need to do is decide what you'd like to grow. Grow a bunch of one type or one of each from the selection you choose or a sample of plants from different selections. You can record the date you plant your capsules as well as give them each a name. From my Herbs Allstars, I am growing:
Once all of the plant capsules are in place, connect the power cable to the device. Be advised that the Plantui Smart Garden only comes with a two-pinned European-style plug.
Once all connected and switched on, you'll see a reassuring purple glow, letting you know that everything is in order and ready to grow!












No Comments Yet, Leave Yours!
Post a Comment
What do you think of this recipe? Be sure to tag me in any recipes you make on social media and use #anyonitanibbles!